Your first hour
You have an instance running (if not, Self-hosting gets you there). This page is the first hour inside the app: an account, a workspace, and your first real things tracked.
Create your account and workspace
Open your instance in a browser and register. Signup is open on first run, so the
first account is yours; if you put your email in SUPERADMIN_EMAILS during
install, this account is also the instance
operator. Registering creates your first
workspace with it.
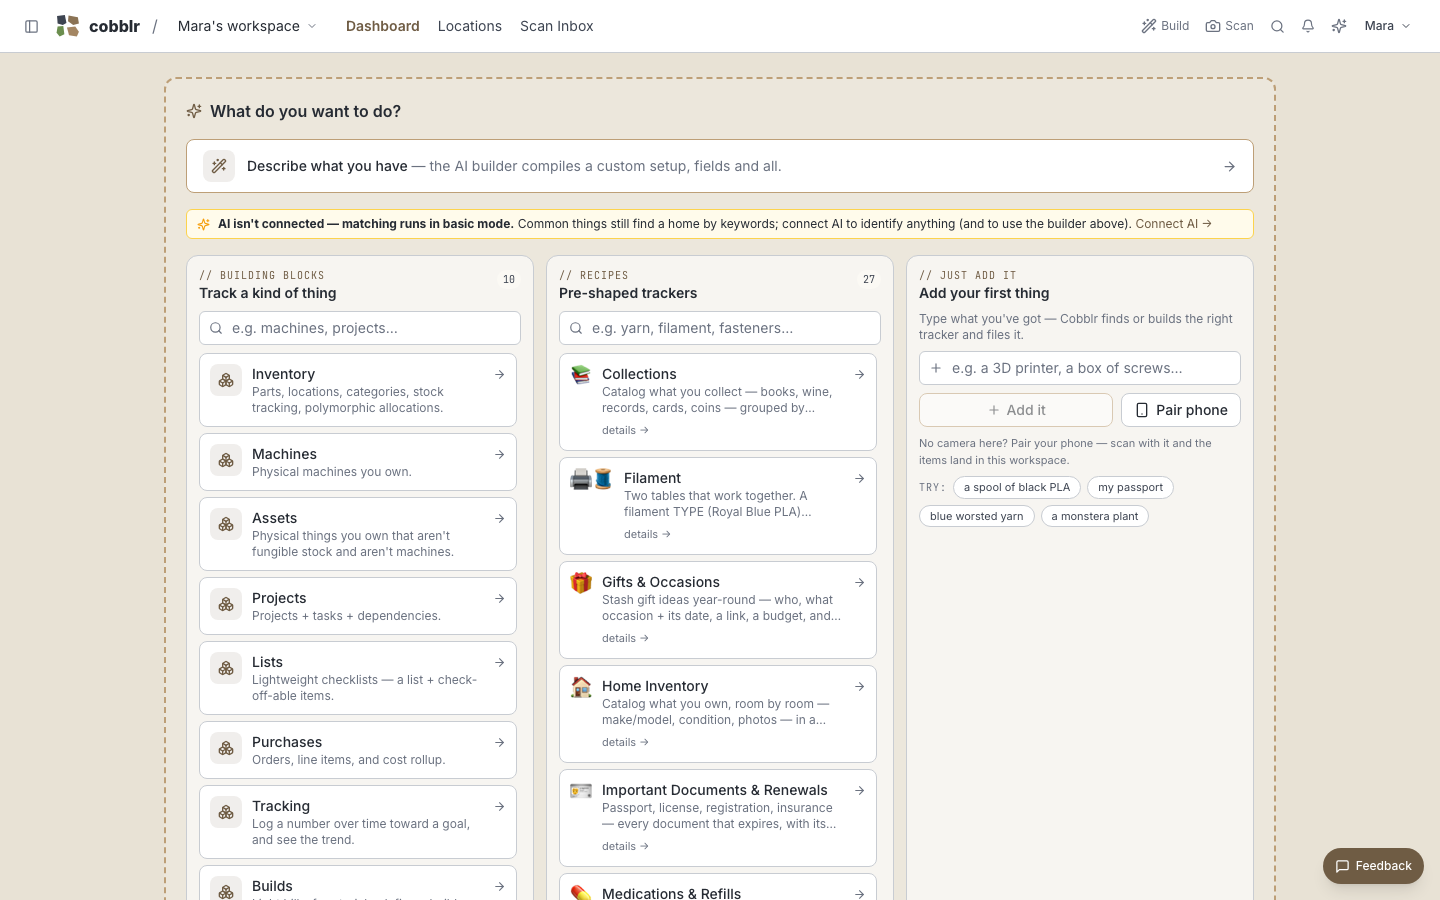
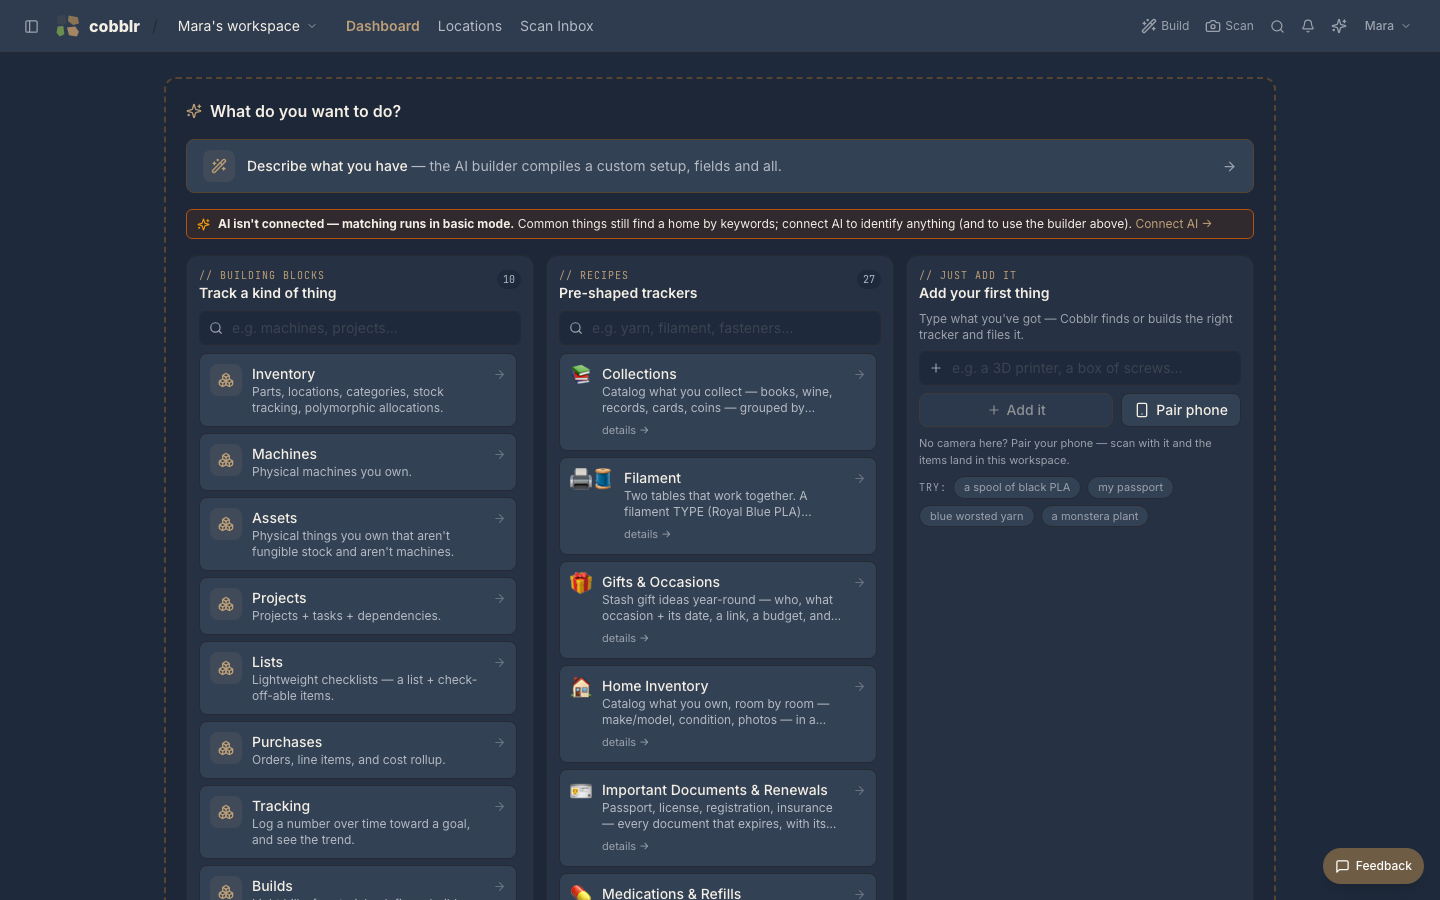
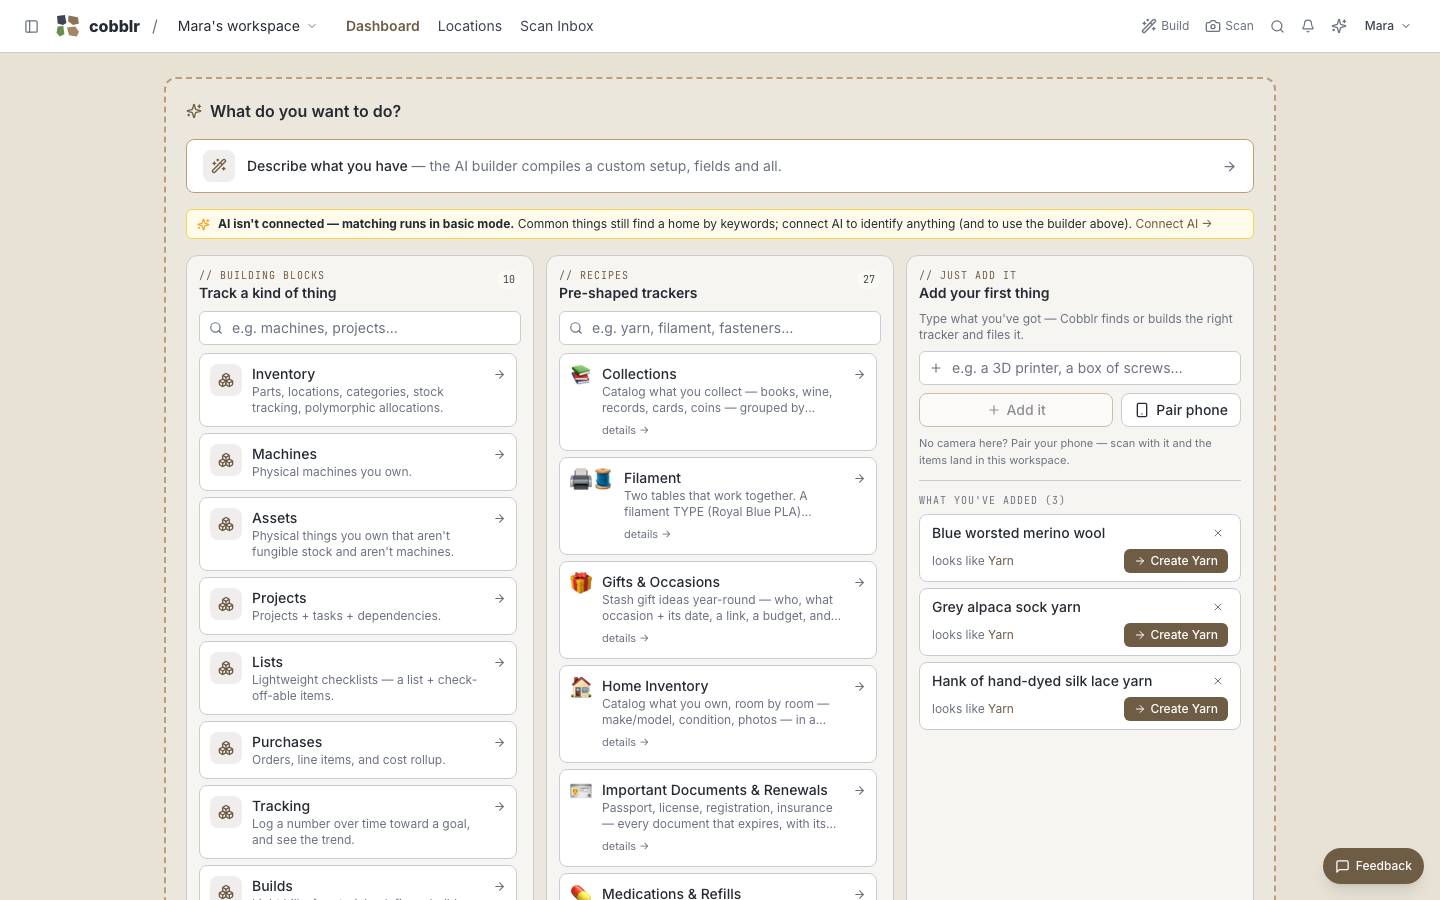
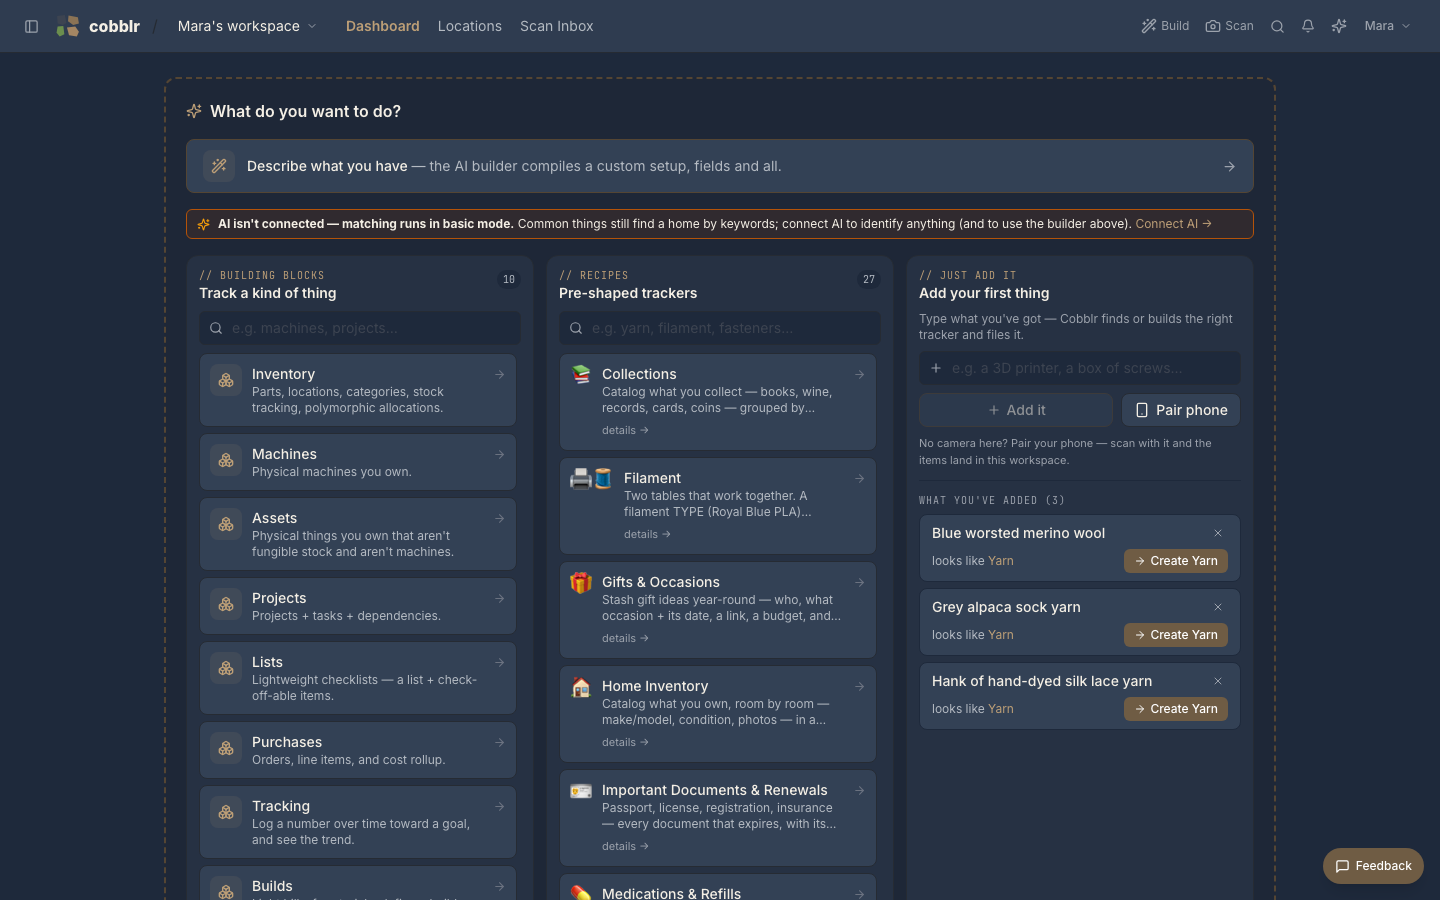
A fresh workspace doesn't ask you to configure anything. It asks what you want to do: pick a building block, start from a pre-shaped tracker, or just add your first thing and let Cobblr work out the rest:
Capture a few things
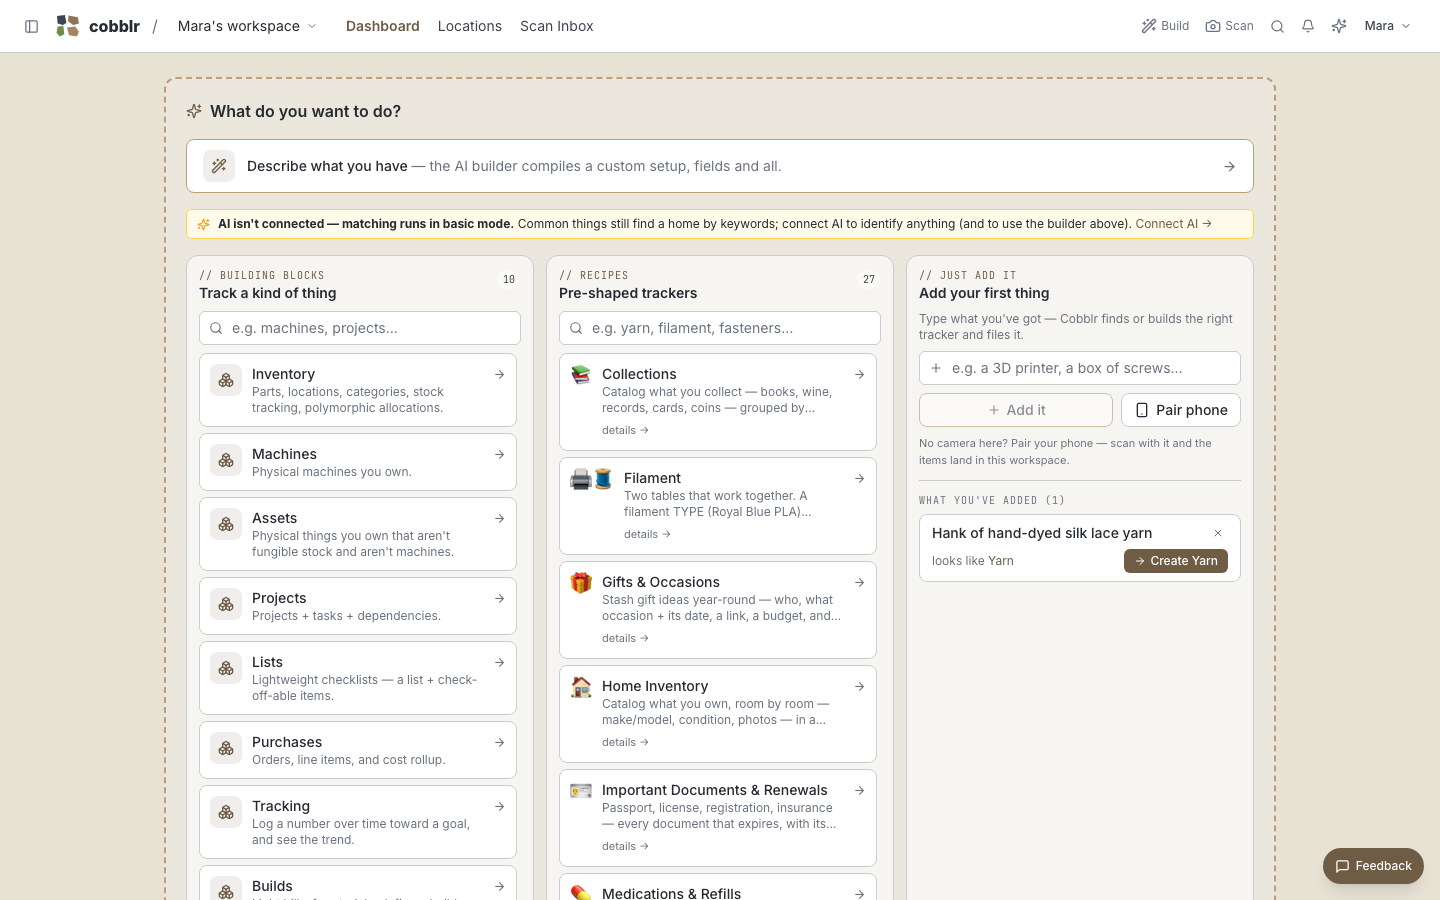
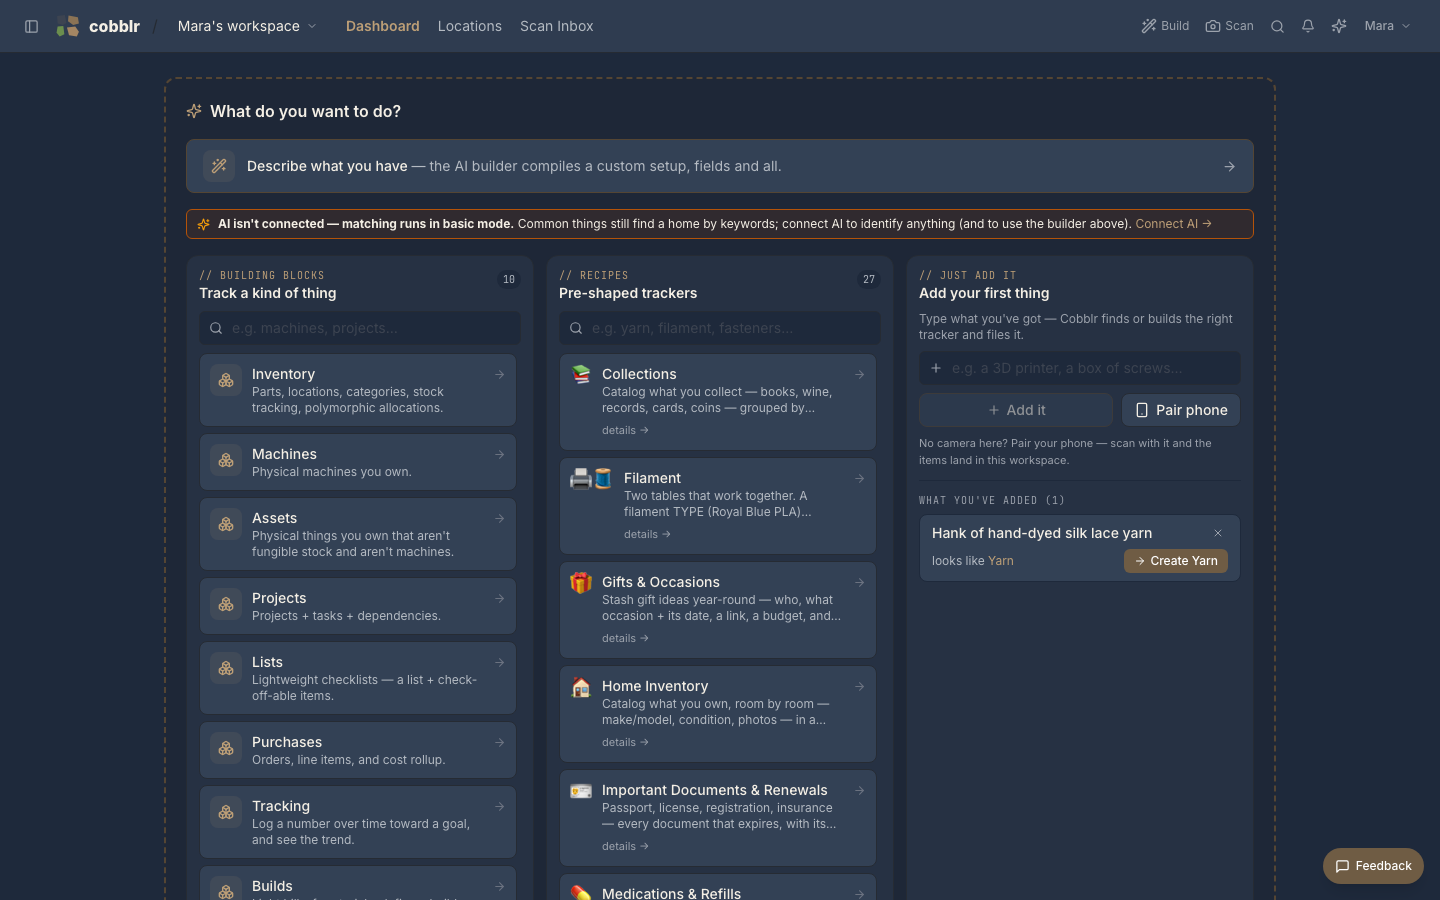
You don't have to decide on a structure first. Type what you've got into "Add your first thing" (or pair your phone and scan it). Cobblr identifies each thing and offers to create the right tracker for it:
Add a few more of the same kind and they line up, each recognized:
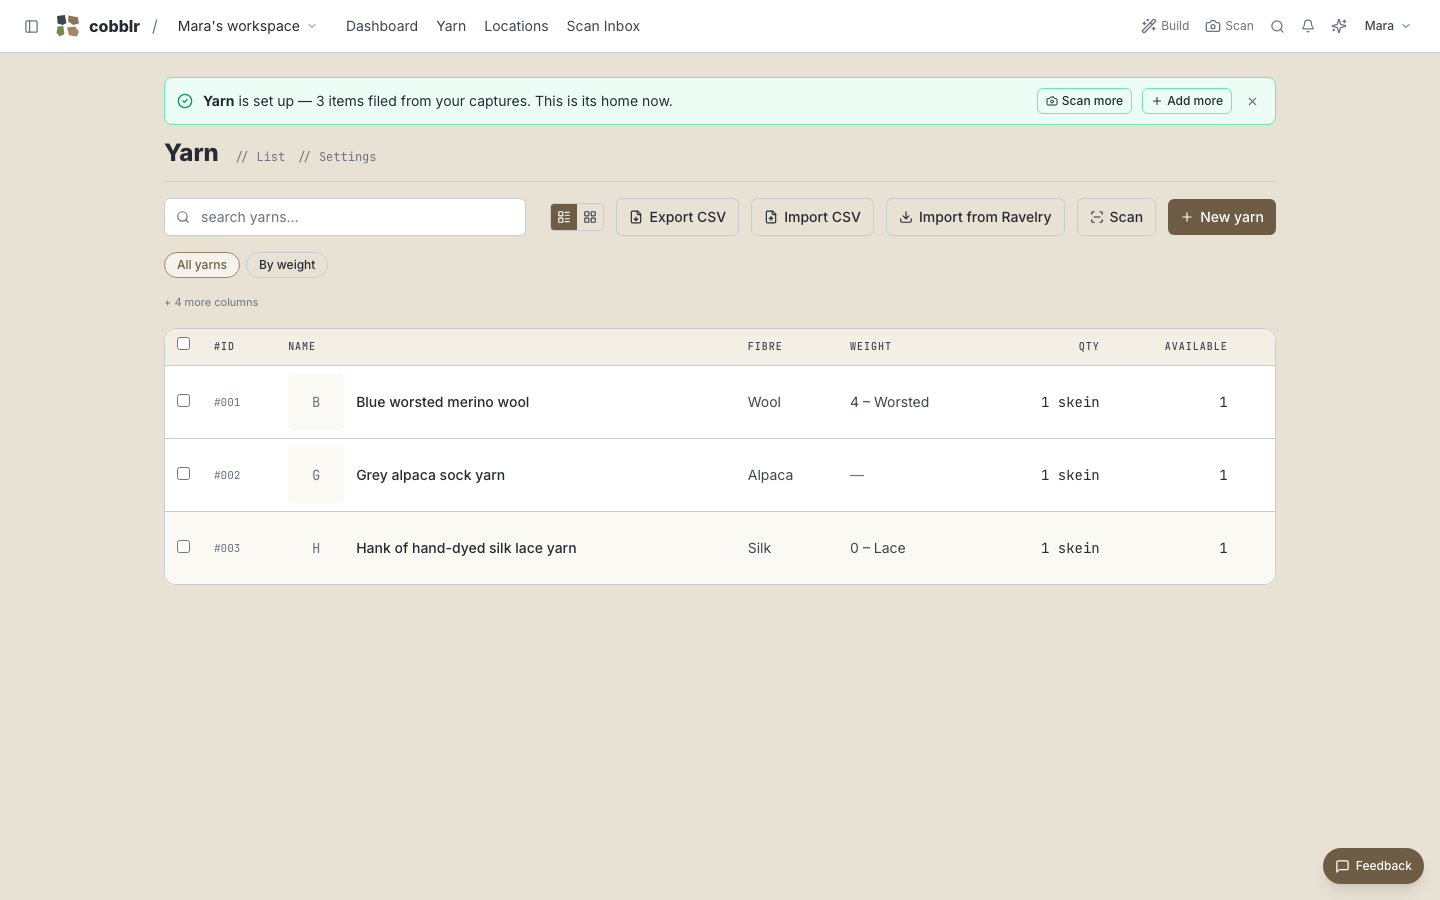
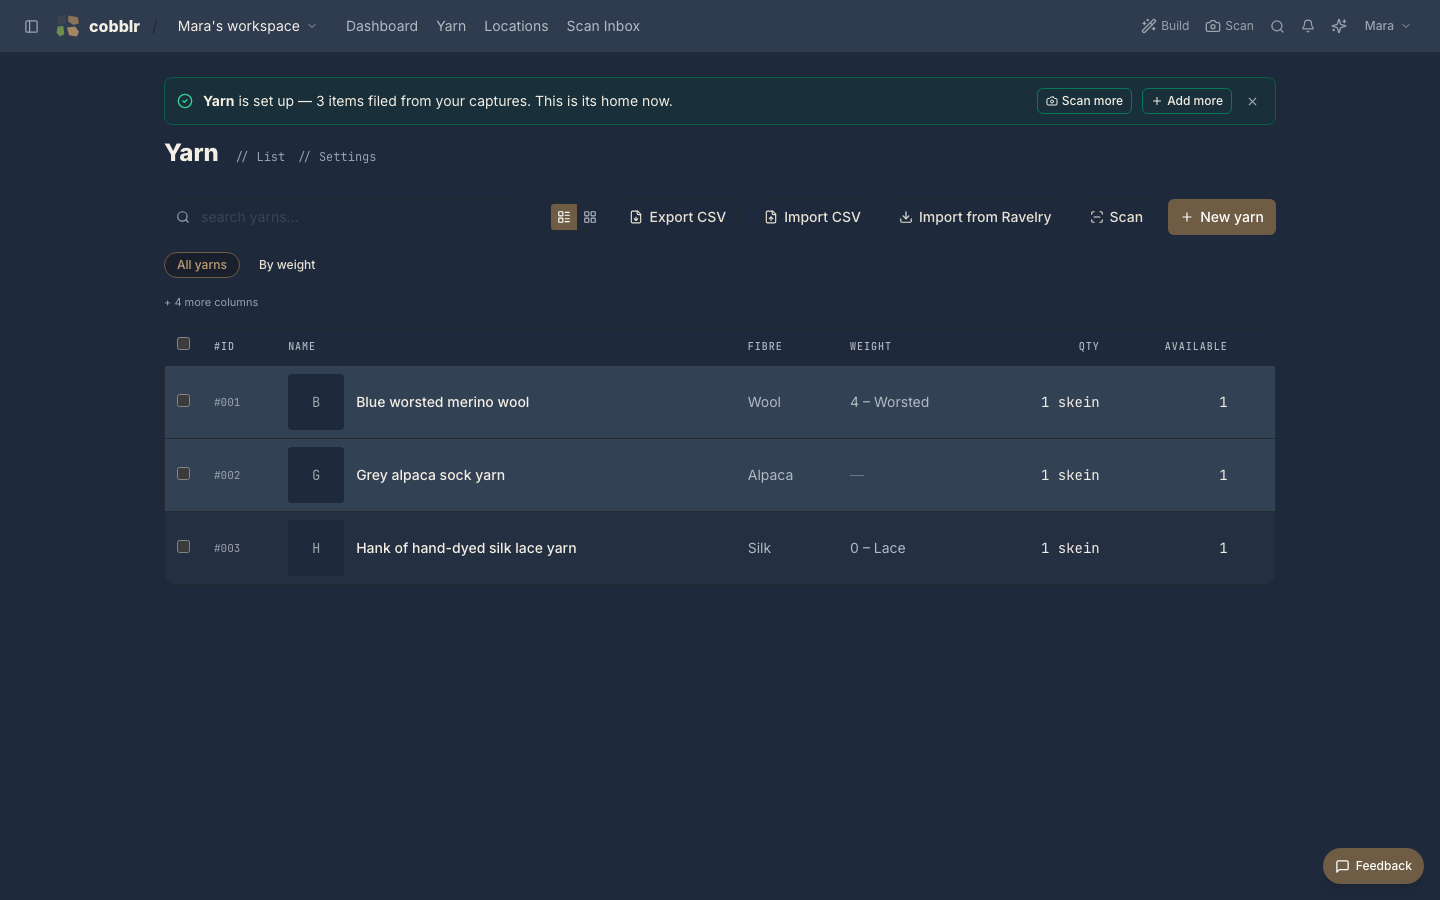
Accept the offer and the tracker is built with your things already filed into it, fields and all:
If you already know what you want instead, skip the captures and start from a bundle: a ready-made setup for a kind of thing (home inventory, a 3D-printer workshop, a yarn stash) that you can reshape afterward.
Look at it a few ways
Whatever you tracked, it's the same data under different lenses. Open a view and flip between the table and the gallery; add a filter and save it as its own view (a "what's low" list, a "still sealed" shelf). Views are cheap; make ones that match how you look for things.
Give things a place
Add a few locations that match your space (a room, a shelf, some bins) and set them on your items. Now "where is it" is a filter, not a memory exercise. When you're ready, print a QR label for a bin, stick it on, and a phone scan jumps straight to what's inside.
From here
- Scanning from your phone? The camera needs HTTPS, which the install guide set up.
- Enable more modules as needs appear: projects, purchases, maintenance. Each turns on per workspace, and nothing you don't enable gets in the way.
- The Inventory app example shows a complete setup, with screenshots, built from the pieces you just touched.